
Independent homeowner field guide
Heat Pump Installation: Process, Costs & Homeowner Checks
A heat pump installation is a whole-house design and verification process—not just an equipment swap. Learn what should happen from assessment through handoff.
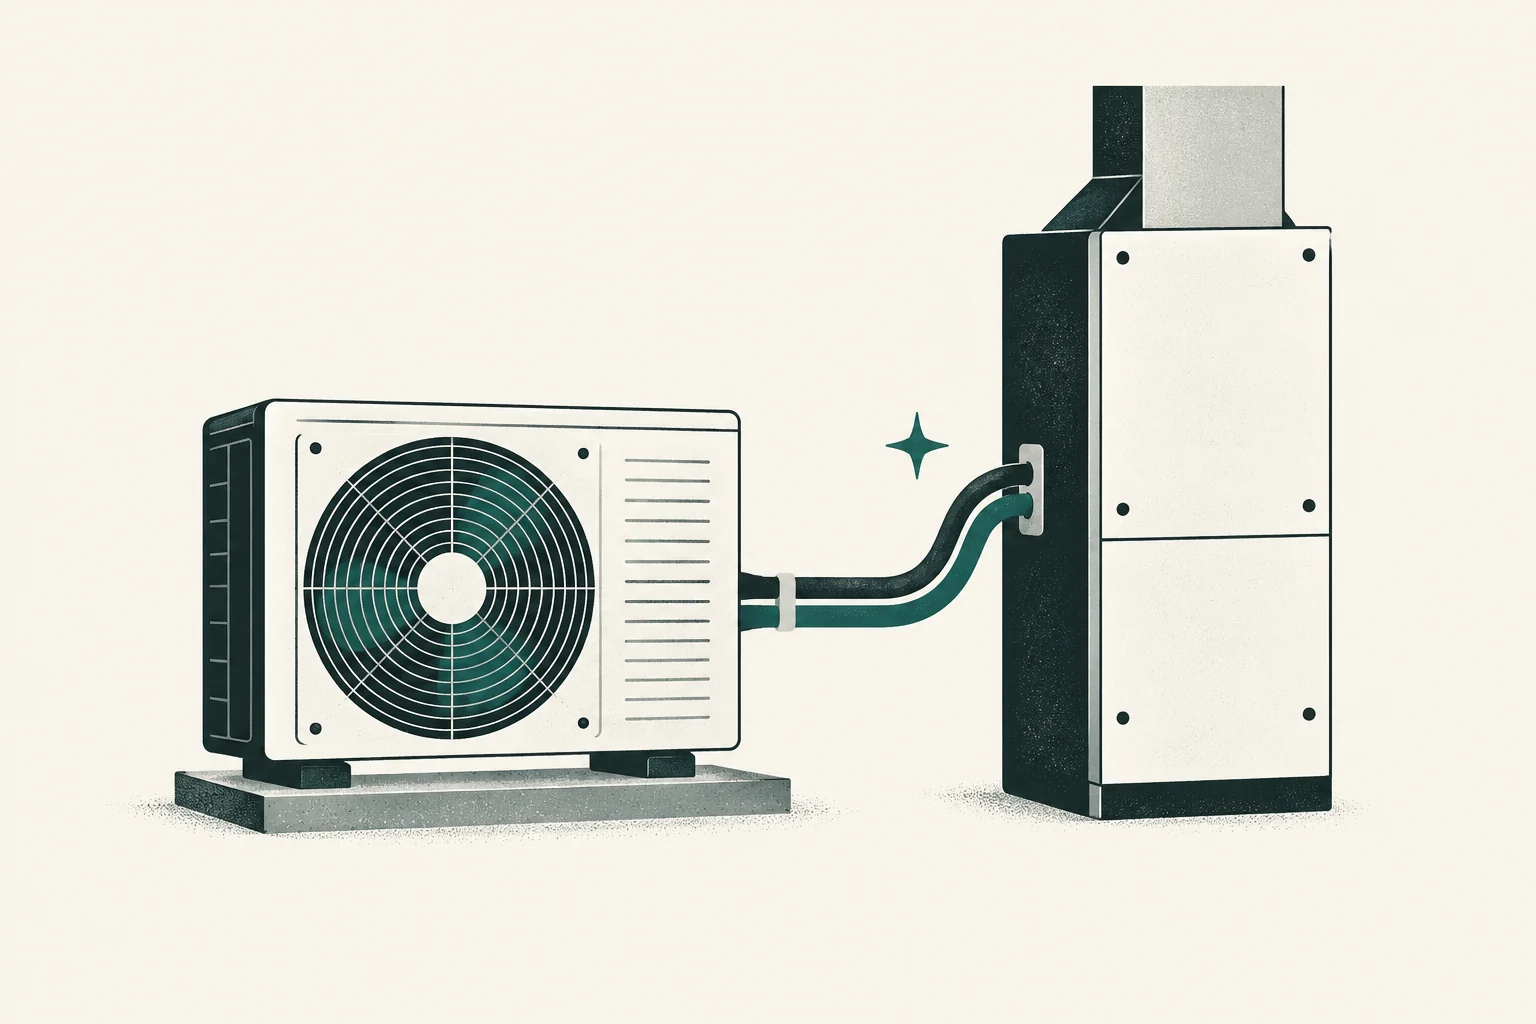
Heat pump installation is the process of assessing a home, selecting equipment that can meet its heating and cooling loads, placing and connecting the system, testing its operation, and teaching the homeowner how to use it. A strong installation treats the equipment and the house as one system. It does not begin and end with setting an outdoor unit on a pad.
That distinction matters. Even efficient equipment can deliver uneven comfort, excessive noise, or high operating costs when it is poorly sized, connected to unsuitable ducts, or left with default controls. The Air Conditioning Contractors of America (ACCA) quality-installation framework addresses design, equipment selection, distribution, installation, and documentation as connected parts of the job.
This guide shows what a homeowner should expect at each stage. It is a framework for evaluating professional work, not a do-it-yourself installation manual. Electrical connections, refrigerant-circuit work, permits, and code compliance belong with appropriately licensed or certified professionals.
The heat pump installation process at a glance
| Phase | What should happen | Useful evidence to request |
|---|---|---|
| Assess | Contractor reviews the house, comfort problems, climate, fuel use, and existing systems | Site notes, room measurements, utility history |
| Design | Heating and cooling loads are calculated; ducts, electrical service, and backup heat are evaluated | Load report, duct findings, electrical scope |
| Select | Equipment is matched to the calculated loads and local design conditions | Model numbers, performance data, matched-system certificate |
| Plan | Locations, permits, condensate, lines, controls, access, and schedule are defined | Written proposal, permit responsibility, drawings when needed |
| Install | Old equipment is removed as applicable; new indoor and outdoor components are connected | Progress photos, approved change orders |
| Commission | Airflow, controls, drainage, refrigerant procedure, and operating modes are checked | Startup or commissioning record |
| Hand off | Homeowner receives settings, model/serial numbers, warranties, and maintenance instructions | Completed handoff packet |
The exact sequence changes by system type. A ductless mini-split, a centrally ducted heat pump, and a dual-fuel system do not have identical scopes. The same principle still applies: design first, then install and verify against that design.
Before comparing quotes, also identify the heat source and the way heat reaches the rooms. Air-source equipment gathers heat from outdoor air; geothermal equipment exchanges heat through a ground or water source. Either source can serve different indoor arrangements. An air-to-water system supplies a water-based distribution system instead of assuming that every home needs ducts or wall heads.
For the next decision, use the complete installed-cost breakdown, compare the same scope with the heat-pump quote checklist, and agree on the commissioning evidence to receive before signing.
1. Start with the house, not the equipment catalog
A useful first visit is investigative. The contractor should ask which rooms are uncomfortable, whether temperature differs between floors, how the existing system behaves in extreme weather, and whether the household plans an addition or other envelope work.
The assessment may cover:
- insulation, windows, air leakage, orientation, and conditioned floor area;
- existing ducts, return paths, grilles, filters, and visible leakage or damage;
- current heating fuel and cooling system;
- the outdoor unit location, snow, drainage, noise, and service access;
- the electrical panel, available service capacity, and proposed backup heat;
- indoor-unit locations, condensate routes, and line-set paths;
- local winter and summer design conditions.
This is also the time to share recent utility bills and describe any plans to improve insulation or replace windows. Those changes can affect the load and therefore the equipment selection.
2. Calculate heating and cooling loads
The output printed on an old furnace or air conditioner is not proof that the replacement should have the same capacity. The old unit may have been oversized, and the house may have changed since it was installed.
For residential work, Manual J is ACCA’s recognized method for calculating room-by-room and whole-house heating and cooling loads. Inputs include local design weather, insulation, leakage, windows, orientation, internal gains, and other building characteristics. ACCA lists Manual J and the related design manuals in its technical manuals overview.
Rules such as “one ton per set number of square feet” can support an early conversation, but they cannot capture those inputs. Read our guide to how heat-pump size is determined before accepting a proposal based only on floor area.
3. Select equipment for the load and climate
Manual S uses the calculated loads and manufacturer performance data to select equipment. For a heat pump, nominal capacity alone is incomplete. Heating output and efficiency change with outdoor temperature, and different models with the same nominal tonnage can perform differently in cold conditions.
A selection review should consider:
- published heating capacity near the local winter design temperature;
- cooling capacity and moisture removal at summer conditions;
- the temperature at which backup heat is expected to operate;
- the number and capacity of auxiliary electric-heat stages, if any;
- matched indoor and outdoor components;
- compatibility with the thermostat or communicating control;
- ducted versus ductless delivery and zoning strategy.
The ENERGY STAR air-source heat-pump guidance explains that qualified cold-climate products meet additional low-temperature criteria. A label is helpful, but the contractor still needs to compare the specific model’s performance with the specific house and climate.
For split systems, request the complete indoor and outdoor model numbers and, when applicable, the matched-system record from the AHRI Directory of Certified Product Performance. A certificate confirms the listed combination’s rated performance; it does not replace design or commissioning.
4. Check the distribution system
In a centrally ducted installation, the heat pump and the duct system must work together. Existing ducts designed around a different airflow or temperature rise may need changes. A restrictive filter, undersized return, crushed flex duct, closed damper, or leaky connection can impair comfort and system performance.
The proposal should say whether the contractor will inspect or measure:
- supply and return condition;
- available airflow and external static pressure;
- room-by-room delivery and return paths;
- duct leakage and insulation where applicable;
- filter size and pressure-drop requirements;
- modifications needed for the selected equipment.
Ductless systems avoid a central duct network, but they still require deliberate placement. Each indoor unit needs a suitable wall or ceiling location, a condensate route, service access, and a clear air path through the occupied space.
5. Define electrical, refrigerant, drainage, and control scopes
A complete proposal separates each trade and responsibility. It should state whether the price includes a dedicated circuit, disconnect, surge protection, panel or service changes, line-set replacement or reuse, condensate management, controls, and final inspection.
Do not treat refrigerant work as a homeowner task. The US Environmental Protection Agency says technicians who maintain, service, repair, or dispose of regulated refrigerant equipment must meet Section 608 certification requirements. Activities such as connecting or disconnecting pre-charged refrigerant lines can fall within regulated work.
Controls also deserve a line item. A thermostat must support the system’s compressor stages, auxiliary or emergency heat, and dual-fuel logic where used. Proprietary variable-capacity equipment may require the manufacturer’s communicating control rather than a generic smart thermostat.
6. Plan permits, locations, and access
Permit and inspection requirements come from the local authority having jurisdiction (AHJ). Depending on the project and location, mechanical, electrical, building, or other approvals may apply. The proposal should identify who pulls each permit, who schedules inspections, and who corrects failed work.
Agree on equipment locations before work begins. For the outdoor unit, consider manufacturer clearances, service access, snow and roof runoff, condensate or defrost water, prevailing conditions, and sound near bedrooms or property lines. For indoor equipment, protect service panels from being boxed in by storage or future finishes.
Use our installation-day preparation checklist to clear access, secure pets, protect belongings, and gather the questions you want answered during handoff.
7. Install the system to the approved scope
Installation day can include recovery and removal of old refrigerant and equipment, setting pads or brackets, mounting indoor equipment, modifying ducts, installing line sets, routing drains, completing electrical work, and connecting controls. The crew should protect floors and finished surfaces and discuss any unexpected condition before changing the agreed scope.
An existing line set should not be assumed reusable merely because it reaches the new equipment. Compatibility depends on manufacturer instructions, line size and length, condition, contamination risk, routing, and project specifics. Any reuse decision should appear in writing.
The detailed sequence is covered in what to expect during heat pump installation.
8. Commission the heat pump
Commissioning means checking that the installed system operates as designed. It is more than switching the thermostat to heating and feeling warm air.
Depending on the equipment and project, the commissioning record may address:
- supply voltage, breaker, disconnect, and electrical checks;
- airflow or static-pressure measurements for a ducted system;
- refrigerant evacuation, charging, and verification by the manufacturer-specified method;
- condensate drainage and overflow protection;
- thermostat configuration and staging;
- operation in heating, cooling, fan, auxiliary heat, and applicable defrost modes;
- temperature and operating data required by the manufacturer;
- noise, vibration, clearances, and final housekeeping.
The exact readings and procedures belong to the selected equipment’s instructions. Ask which results will be recorded and provided to you. Common installation mistakes often become visible when this verification is skipped.
9. Complete the homeowner handoff
A useful handoff turns a working installation into an understandable system. Before final payment, collect:
- indoor, outdoor, thermostat, air-handler, and backup-heat model and serial numbers;
- approved permits and final inspection results when required;
- the final commissioning or startup record;
- warranty terms, registration status, and labor-warranty details;
- invoices, change orders, rebates, and matched-system documents;
- thermostat instructions and the configured schedules or lockouts;
- filter size, type, location, and replacement guidance;
- maintenance schedule and service contact;
- photos of concealed routes or equipment labels when useful.
Ask the contractor to demonstrate normal heating, cooling, auxiliary heat, and emergency heat indicators. Confirm what frost or defrost behavior is normal and which symptoms require a service call.
10. Maintain the installed system
Installation quality can be undermined by neglected filters, blocked outdoor airflow, clogged drainage, or controls that are changed without understanding their effects. Follow the manufacturer instructions and the homeowner-safe heat pump maintenance plan.
The ENERGY STAR air-source heat-pump guidance recommends regular filter attention and professional service. The exact interval depends on the equipment, filter, home, pets, dust, smoke, and runtime.
How the installation scope changes by system type
The same design-to-verification process applies across heat pumps, but the field work differs. Identify the system type before comparing proposals so that unlike scopes do not look interchangeable.
Centrally ducted air-source heat pump
A ducted system uses an air handler or compatible furnace and a central distribution network. The design should connect the load calculation to equipment capacity, required airflow, existing duct condition, return paths, filter area, and backup heat.
The installation may reuse parts of the duct system, but reuse should follow an assessment. New plenums, transitions, returns, grilles, air sealing, insulation, or balancing can be part of the real project even when the equipment fits in the old mechanical room.
Ductless or compact-ducted mini-split
A ductless project replaces central duct questions with zone-by-zone questions. Indoor-unit capacity and placement, air throw, room connections, condensate routes, visible line covers, and multi-zone combination data all affect the result.
One outdoor unit serving several indoor heads does not mean each head receives its nameplate capacity under every condition. The designer should check the combination and outdoor unit’s capacity at the applicable temperatures.
Compact-ducted units add short duct runs and therefore bring airflow and static pressure back into the design. They should not be treated as ordinary wall-mounted heads with hidden branches added later.
Dual-fuel heat pump
A dual-fuel system pairs a heat pump with a furnace. The proposal should define which equipment serves as backup, how changeover occurs, and which outdoor temperature or economic logic informs that change. Fuel price, electricity price, equipment performance, emissions priorities, comfort, and local climate can affect the strategy.
The furnace still brings combustion, venting, gas, and carbon-monoxide-safety responsibilities. Controls must support the actual pairing, and commissioning should test the transition rather than only each appliance in isolation.
Whole-house conversion with electrical or envelope work
A project that removes fuel heating, improves insulation, changes windows, upgrades service, or adds solar or storage needs coordination. The final load calculation should reflect improvements that are genuinely part of the funded scope—not hoped-for future work.
Electrical service decisions should consider the complete planned load, including auxiliary heat and other electrification projects. The HVAC contractor, electrician, utility, designer, and permit authority may have connected responsibilities even when their contracts are separate.
Geothermal source loops
A geothermal project adds source-side design and construction. The DOE geothermal overview explains the ground-exchange approach. Ask who designs and installs the loop, which ground or groundwater investigations and approvals apply, how buried routes will be recorded, and what excavation and restoration are included. A ground-source heat pump can still use indoor ducts; “geothermal” does not describe the room-distribution layout.
Air-to-water and existing radiators
A radiator home needs an emitter and water-system assessment before anyone promises to retain every radiator. The designer must compare room loads with radiator output at the proposed water temperatures, then address flow, controls, backup heat, freeze protection and any cooling plan. Caleffi’s heat-emitter guidance explains why the emitter choice belongs in that design. Ordinary radiators should not be assumed to provide cooling.
These are extra design responsibilities within the same assessment-to-handoff process. Obtain a project-specific proposal rather than applying an air-source equipment-swap quote to either architecture.
Establish a before-and-after comfort baseline
Before installation, record how the home behaves. A short baseline helps the designer understand the problem and gives everyone a more useful post-installation conversation than “it feels different.”
For one representative week when practical, note:
- thermostat settings and schedules;
- outdoor conditions or the dates and times of observations;
- rooms that run warm, cold, humid, noisy, or drafty;
- long runtimes, frequent cycles, or heavy backup use;
- closed doors or occupancy patterns that affect rooms;
- unusual equipment sounds or odors;
- fuel and electric use from recent bills.
Do not turn these observations into a diagnosis. A cold bedroom could reflect load, ducts, return path, controls, envelope leakage, or another cause. Give the record to the contractor so it can inform the room-by-room assessment.
After installation, retain the same categories and compare similar weather periods when possible. A higher bill in a colder month or after a rate increase does not, by itself, prove that the system is inefficient. Compare energy units, billing days, weather, settings, and household changes.
Use decision gates instead of one final leap
A homeowner can manage a complex installation through five decision gates. Each gate should have enough evidence before the next commitment.
Gate 1: approve the problem definition
Agree on what the project is meant to solve: failed equipment, uncomfortable rooms, fuel conversion, cooling addition, renovation, noise, or operating-cost exposure. If proposals solve different problems, their prices cannot be compared fairly.
Gate 2: approve the design basis
Review the load calculation, house assumptions, duct or zone findings, local design conditions, and backup strategy. Correct factual inputs before equipment is ordered.
Gate 3: approve the equipment and scope
Confirm model numbers, performance, locations, trades, permits, exclusions, warranties, commissioning, and payment milestones. A brand name or efficiency label is not a complete scope.
Gate 4: approve field changes
When the crew finds a concealed condition, require a written explanation, options, cost, and schedule effect. Some changes are unavoidable; undocumented changes are avoidable.
Gate 5: approve completion
Use inspections, the commissioning record, operating demonstration, cleanup, warranty documents, and the unresolved-item list. Producing warm or cool air is necessary, but it is not the entire closeout standard.
What installation cannot guarantee
No responsible proposal can guarantee one utility bill, identical comfort preferences in every room, zero equipment noise, a particular insurance result, or permanent eligibility for an incentive. Weather, rates, occupancy, building changes, maintenance, and product behavior remain relevant.
A contractor can make narrower, testable commitments: install specified matched equipment; follow documented design and manufacturer instructions; complete stated duct, electrical, drain, and control work; obtain assigned permits; record commissioning results; and honor written warranty terms.
Prefer those verifiable commitments over broad savings language. They give both sides a clearer way to judge completion and resolve a problem.
Questions to ask before signing
- Will you provide the heating and cooling load calculation and explain its inputs?
- Which model numbers are proposed, and how do their capacities compare with the loads at local design conditions?
- What duct, electrical, line-set, condensate, control, and backup-heat work is included?
- Who pulls permits and schedules inspections?
- What commissioning measurements will I receive?
- What is excluded, and how are change orders approved?
- Which manufacturer and labor warranties apply, and who completes registration?
- What maintenance is the homeowner expected to perform?
The practical standard: design, document, verify
A good heat pump installation is traceable. The calculated loads lead to equipment selection. The equipment selection leads to duct, electrical, control, and backup-heat requirements. The finished system is then checked against those requirements, and the homeowner receives the evidence.
If your proposals skip those connections, compare qualified heat-pump contractors before choosing one. Ask every provider to document the same design, installation, commissioning, and handoff requirements.
Source notes
- ACCA Quality Standards — quality installation and verification framework.
- ACCA Technical Manuals — Manual J, Manual S, and related residential design methods.
- ENERGY STAR: Air-Source Heat Pumps — efficiency, cold-climate qualification, and maintenance context.
- AHRI Directory — certified matched-system performance records.
- EPA Section 608 Technician Certification — regulated refrigerant-work boundary.
Planning a heat pump installation? Start with your situation
If you already own a home and want a useful installation proposal, first identify the job you are asking the contractor to solve. A failed-system replacement, a switch from another fuel, a single uncomfortable room and a planned whole-house retrofit require different investigation. A high-efficiency product name does not describe the complete project.
| Your starting point | Ask the contractor to resolve | Useful next guide |
|---|---|---|
| Replace an existing heat pump | Why the old arrangement failed and which parts are suitable to retain | Repair versus replacement |
| Convert an existing ducted home | Load, duct condition, delivered airflow and controls | Sizing evidence |
| Add heating or cooling to one area | Room loads, distribution, placement and condensate route | Ducted versus ductless |
| Compare bids for a planned installation | Equivalent equipment and complete project scope | Quote comparison checklist |
Write down rooms with discomfort, your current equipment and fuel, the service problem you want solved and any access constraints. Provide utility history as context without assuming another home’s savings apply to yours. The contractor should explain what measurements or assessments will support the design.
What is included in a complete installation price?
Ask for equipment and controls, distribution changes, electrical work, mounting, refrigerant and condensate routes, permits, removal, restoration and commissioning to be visible in the proposal. Mark exclusions clearly. A low equipment price is not the installed project total, and two quotes using the same brand may cover different work.
Use the installed-cost guide for the full comparison. Keep incentives separate until the actual program and your eligibility are confirmed. This article does not provide a universal installed-price promise; the scope and home are too important for a single number to settle the choice.
What should you have when the installer leaves?
You should be able to identify the installed indoor and outdoor equipment, understand ordinary thermostat operation and know the responsible service contact. Request the commissioned settings, required maintenance, applicable warranty paperwork and the inspection record where relevant. Ask what normal defrost and backup-heat behavior look like for the selected system.
If the home does not meet the agreed comfort result, report the location, timing and conditions rather than adjusting installer settings at random. The handoff and commissioning checklist makes the acceptance conversation concrete. The aim is an appropriately designed system that has been installed and checked for your home, with records you can use when something changes.
Continue by topic
Category
Topics
Local service handoff
Ready to discuss your heat-pump project?
Speak with a local service contractor about installation scope, site conditions, and next steps.
Call (877) 514-6658Heat Pump Installation Experts is a free service that helps homeowners connect with local service contractors. Contractors are independent; Heat Pump Installation Experts does not warrant or guarantee their work. Homeowners are responsible for verifying that any contractor they hire has the licenses and insurance required for the work. People shown in photos or videos on this site are actors or models unless explicitly identified otherwise; they are not contractors listed through this service.