
Independent homeowner field guide
What to Expect During Heat Pump Installation: Timeline and Handoff
Know what should happen before, during, and after a professional heat-pump installation, including startup checks and the documents to collect.
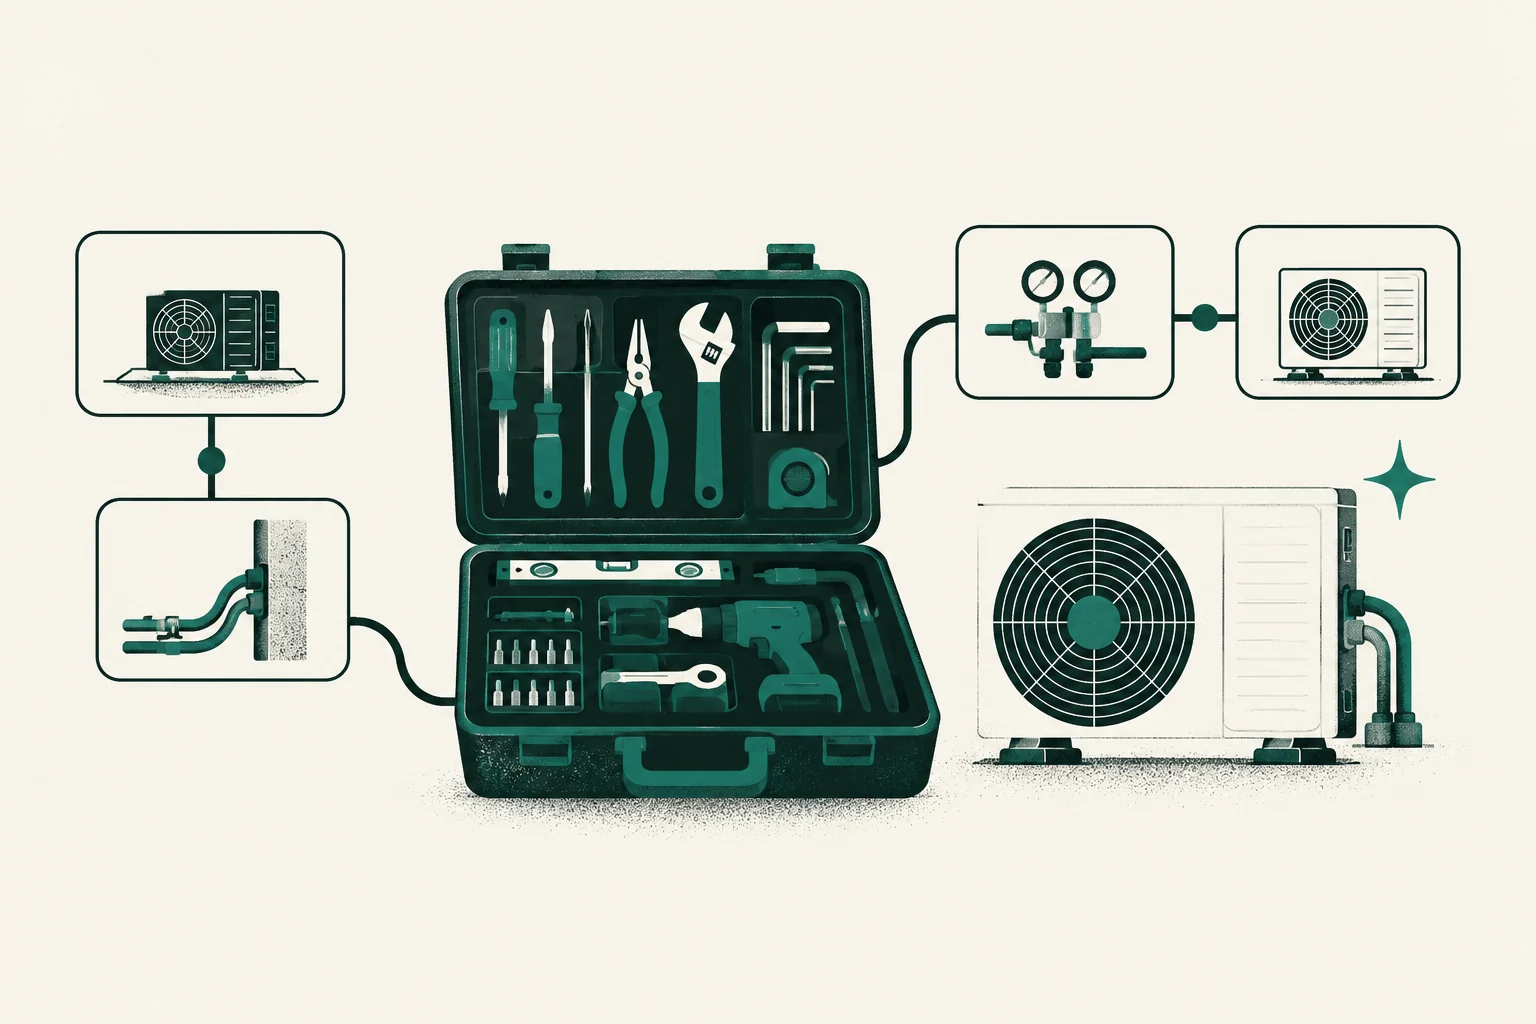
Knowing what to expect during heat pump installation makes it easier to protect your home, notice scope changes, and collect the records you will need later. The job normally moves from a pre-installation review through equipment removal, placement, electrical and mechanical connections, controls, commissioning, cleanup, and homeowner handoff.
The exact duration depends on the system and house. A straightforward equipment replacement differs from a multi-zone ductless project, duct redesign, service upgrade, or fuel conversion. Your written proposal and contractor—not a generic timeline—should define the schedule.
Before the crew arrives
A sound installation begins before installation day. The contractor should have completed the site assessment, load calculation, equipment selection, and key location decisions described in our complete installation guide.
Confirm in writing:
- complete indoor, outdoor, thermostat, and backup-heat model numbers;
- equipment and control locations;
- duct, line-set, drain, electrical, and penetration routes;
- permit and inspection responsibility;
- old-equipment removal and disposal;
- areas the crew needs to access;
- known exclusions and the change-order process;
- expected shutdowns of heating, cooling, power, water, or fuel;
- commissioning and handoff documents.
Before arrival, prepare your home and access routes, secure pets, move vehicles, and protect belongings. Do not move heavy equipment or open electrical/refrigerant systems yourself.
A typical installation timeline
| Phase | What you may see | Homeowner checkpoint |
|---|---|---|
| Arrival and walkthrough | Crew confirms scope, locations, access, protection, and shutdowns | Identify the lead and approve no unplanned route changes |
| Isolation and removal | Power/fuel isolated; old refrigerant recovered; equipment removed as scoped | Confirm retained components and disposal plan |
| Placement | Pad, stand, brackets, indoor units, or air handler positioned | Check agreed clearances, access, sound, snow, and drainage considerations |
| Connections | Ducts, lines, drains, electrical, controls, and penetrations completed | Ask about changes before they are concealed |
| Startup and commissioning | System configured, operated, measured, and documented | Request the promised report and unresolved-item list |
| Handoff | Controls demonstrated; records, warranties, permits, and care explained | Photograph labels and keep the closeout packet |
Some phases overlap when multiple trades are present. Inspections may occur the same day or later.
1. Arrival, protection, and final walkthrough
The lead installer should review the written scope and walk the project before demolition. Confirm outdoor and indoor equipment positions, line and drain routes, thermostat location, equipment to be retained, and surfaces that need protection.
Ask who can approve changes. If a concealed condition or incompatible component appears, pause long enough to receive a written description, price, schedule effect, and proposed solution.
2. Safe shutdown and old-equipment removal
The crew may isolate electrical power, fuel, controls, and refrigerant systems. Regulated refrigerant must be handled by appropriately certified technicians. The EPA Section 608 program defines federal technician-certification requirements.
Removal may include an outdoor condenser or heat pump, furnace, air handler, coil, thermostat, line set, pad, ducts, or fuel components according to the contract. Confirm what will be hauled away and what remains.
If heating or cooling will be unavailable overnight, the contractor should discuss a safe temporary plan appropriate to the season and occupants.
3. Outdoor unit placement
The outdoor unit may sit on a pad, stand, wall bracket, or engineered support. Placement should follow manufacturer instructions and applicable local requirements while accounting for:
- service and airflow clearances;
- snow depth, drifting, roof runoff, and defrost water;
- flood or wildfire conditions where relevant;
- vibration transfer and sound near windows or bedrooms;
- mowing, landscaping, pets, and vehicle paths;
- line-set and electrical routes.
Do not approve a last-minute location solely because it shortens the line set. Long-term access, drainage, and neighbor or occupant impact matter.
4. Indoor equipment and distribution work
A centrally ducted project may involve a new air handler, coil, furnace, filter rack, plenums, returns, supply changes, dampers, and air sealing. Ductless work may involve wall, floor, ceiling-cassette, or compact-ducted indoor units.
The crew should keep service panels, filters, drain components, and controls accessible. Before a new route is enclosed, ask to see or photograph it when practical.
If the proposal includes duct modifications, confirm they match the final field conditions. Larger equipment should not simply be attached to restrictive ducts without addressing airflow.
5. Refrigerant lines and penetrations
The installer routes the refrigerant line set between indoor and outdoor components, protects it as required, seals penetrations, and follows manufacturer requirements for line sizes and lengths. Reusing an existing line set requires a documented compatibility and condition decision.
Refrigerant-circuit work is not a homeowner task. Evacuation, leak checking, charging, recovery, and connection procedures belong with qualified technicians following federal requirements and equipment instructions.
6. Condensate and defrost drainage
Cooling operation can produce indoor condensate. Outdoor defrost operation can also release water. The installation should route drainage to an acceptable location and include required traps, vents, pumps, insulation, or overflow protection.
Ask the crew to show you the drain, any pump, the overflow response, and the maintenance access. A drain that works on a dry installation day can still cause damage if it is poorly pitched, freezes, clogs, or terminates unsafely.
7. Electrical work and controls
Electrical scope can include circuits, breakers, disconnects, wiring, auxiliary heat, controls, and sometimes panel or service work. Ask which licensed trade performs the work and which inspection applies.
The thermostat or communicating control must be configured for the actual equipment. Important settings can include compressor stages, auxiliary or emergency heat, dual-fuel changeover, fan behavior, sensors, and lockouts. Do not assume factory defaults match the design.
8. Startup and commissioning
Commissioning checks the completed installation. Depending on the system, the crew may document:
- electrical supply and component operation;
- thermostat and communicating-control configuration;
- airflow or external static pressure in ducted systems;
- manufacturer-specified refrigerant procedure and verification;
- condensate drainage and overflow protection;
- heating, cooling, fan, auxiliary heat, and applicable defrost modes;
- temperature or operating data required by the manufacturer;
- noise, vibration, clearances, and final condition.
Ask for the actual results, not only a box marked “tested.” The ACCA quality standards offer a useful framework for understanding why design, installation, and verification belong together.
9. Inspection and correction
Required inspections may occur during the work, at completion, or on a later day. Keep permit documents accessible. If an inspector issues corrections, get them in writing and confirm who schedules the reinspection.
An open permit should not disappear from the closeout conversation. Read the permit and code guide and collect proof of final approval used by your jurisdiction.
10. Cleanup and homeowner handoff
The crew should remove debris, leave access panels secured, identify any unfinished restoration, and return agreed areas to a safe condition. Walk through every work area before signing completion.
During handoff, ask the contractor to demonstrate:
- heating, cooling, and fan controls;
- auxiliary and emergency heat indicators;
- normal sounds, frost, and defrost behavior;
- filter location, exact size, and replacement method;
- outdoor-unit clearance and safe cleaning boundaries;
- condensate components the homeowner can visually inspect;
- how to request warranty or service support.
Collect model and serial numbers, final invoices, approved changes, permits, inspections, commissioning records, matched-system information, warranty registration, and maintenance instructions.
What can delay installation?
Common schedule variables include permit timing, equipment availability, severe weather, hidden electrical or duct conditions, access constraints, failed inspection, hazardous material, structural repairs, and an owner-requested scope change.
A delay does not necessarily signal poor work. The important questions are whether the contractor explains the cause, protects the house and equipment, updates the schedule, and obtains written approval for cost changes.
When to pause and ask a question
Pause the work when:
- the proposed equipment or location differs from the contract;
- the crew discovers a major unpriced condition;
- a planned permit or licensed trade is being skipped;
- a penetration, drain, or line route changes materially;
- reusable components show damage or incompatibility;
- someone requests full completion payment before unresolved work and required inspections are addressed.
Stay out of the work zone and speak with the lead. Do not direct individual trade steps yourself.
Your completion checklist
- [ ] Agreed equipment and controls are installed.
- [ ] Work areas are safe and clean.
- [ ] Permits and inspections are closed or a documented correction plan exists.
- [ ] Startup and commissioning results are provided.
- [ ] Thermostat and backup-heat operation are demonstrated.
- [ ] Filter, drainage, clearances, and maintenance are explained.
- [ ] Model and serial numbers are recorded.
- [ ] Warranty registration and labor terms are documented.
- [ ] All changes and the final invoice match.
After handoff, follow the safe maintenance plan, review any symptoms against the common installation mistakes guide, and report abnormal operation promptly. Heat Pump Installation Experts is an independent educational publisher, not the installing contractor.
Source notes
- ACCA Quality Standards — design, installation, and verification framework.
- EPA Section 608 Technician Certification — federal refrigerant-work certification requirements.
- ENERGY STAR: Air-Source Heat Pumps — post-installation operating and maintenance context.
- Manufacturer instructions and the local AHJ control equipment-specific startup, clearances, permits, and inspection requirements.
Continue by topic
Category
Topics
Commissioning, Ductwork, Electrical, Permits & Codes, Warranties
Local service handoff
Ready to discuss your heat-pump project?
Speak with a local service contractor about installation scope, site conditions, and next steps.
Call (877) 514-6658Heat Pump Installation Experts is a free service that helps homeowners connect with local service contractors. Contractors are independent; Heat Pump Installation Experts does not warrant or guarantee their work. Homeowners are responsible for verifying that any contractor they hire has the licenses and insurance required for the work. People shown in photos or videos on this site are actors or models unless explicitly identified otherwise; they are not contractors listed through this service.